Grazing Table Food Safety: Working the Clock on a Table Built to Sit Out
A grazing table is built to sit out. Here is which items are actually on the clock, how the four-hour and six-hour rules work, and how to build the display so the timing works in your favor.
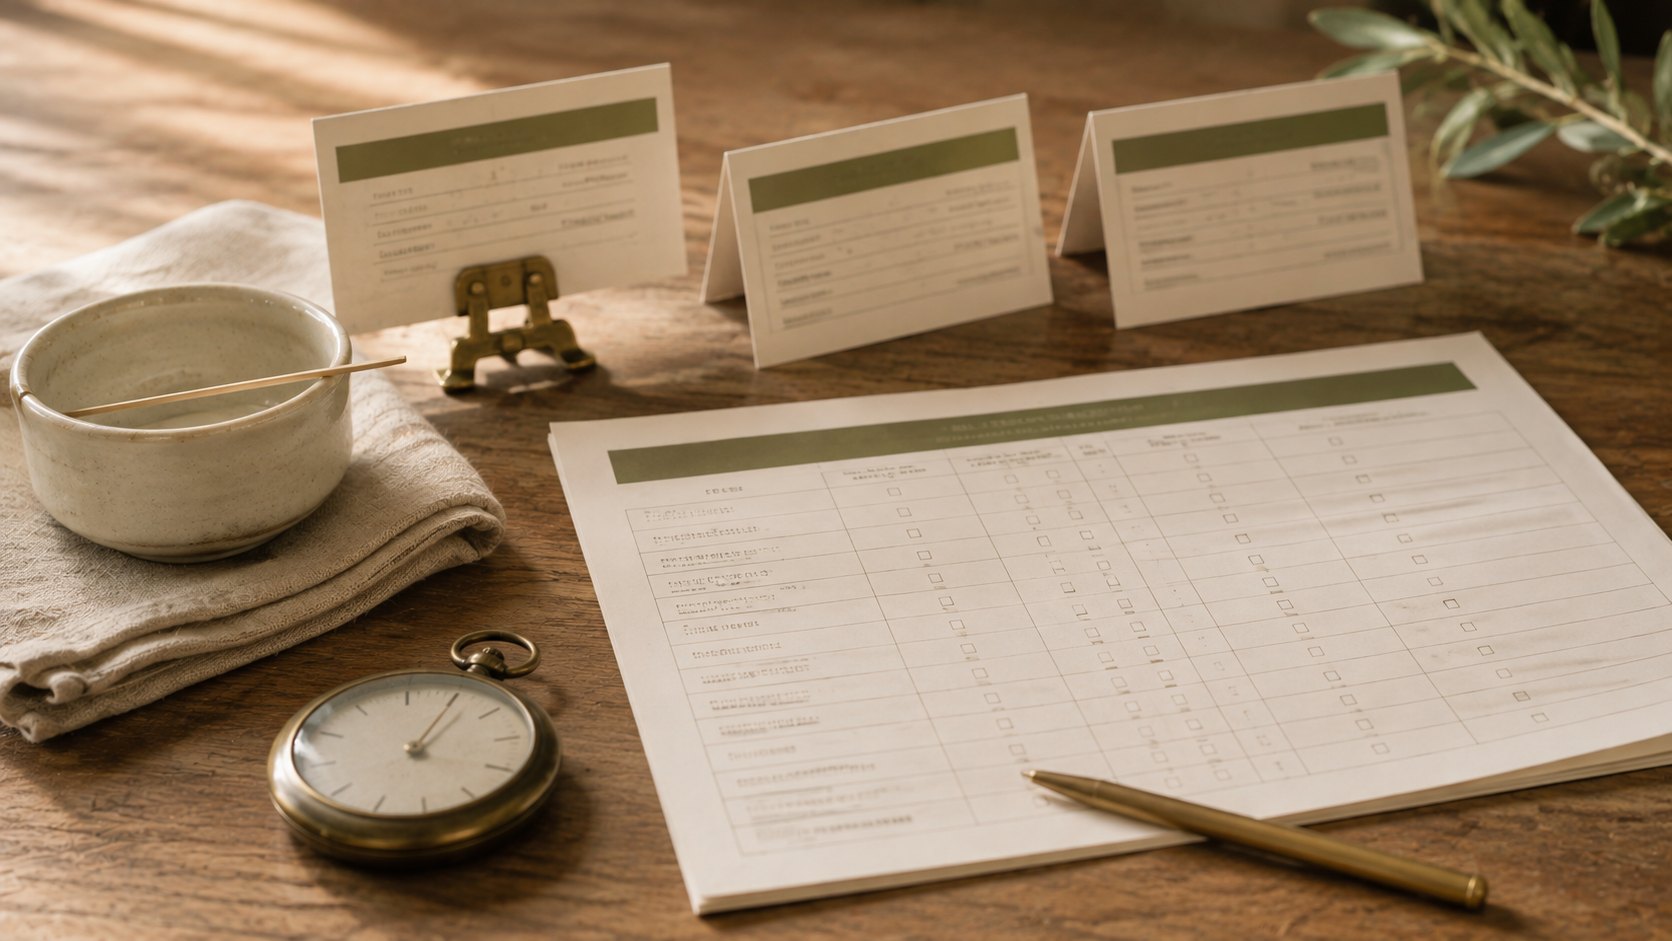
A grazing table is designed to do the one thing food safety training tells you not to do: sit at room temperature, uncovered, for hours, looking beautiful the whole time.
That tension is the job. You can't refrigerate a grazing table, and you can't build one that's safe by accident. What you can do is understand which items are actually on the clock, start that clock deliberately, and build the display so the timing works in your favor instead of against it.
This is a working framework, not a compliance document. Requirements vary by state, county, and the kind of operation you run, and your local health authority has the final word on all of it.
The numbers that matter
Under the FDA Food Code, the temperature danger zone runs from 41°F to 135°F. Between those two points, bacteria on time and temperature control for safety (TCS) foods multiply at a rate that matters. Cold food is held at 41°F or below. Hot food is held at 135°F or above. A grazing table, sitting in a room at 70-something degrees, is squarely between them.
Which is why grazing work usually runs on time as a public health control rather than temperature control. There are two versions of it.
| Control | What it covers | Conditions | When the clock runs out |
|---|---|---|---|
| The four-hour rule | Food removed from temperature control | Starts at a safe temperature, cold food at 41°F or below, and you mark the time it came out | Served or discarded at four hours. Not re-chilled. Not saved for the family. Discarded. |
| The six-hour rule | Cold food only | Room at 70°F or below, food starting at 41°F or below and staying between 41°F and 70°F, with temperature checks along the way | Discarded at six hours, or used immediately and thrown out if it climbs past 70°F at any point |
Two things about these rules catch people out. First, the clock starts when the food leaves refrigeration, not when guests arrive. Your prep time, drive time, and build time all count. A table that took 90 minutes to build has already spent 90 minutes of its four hours. Second, using time as your control usually requires written procedures on file. If you're an inspected operation, that paperwork isn't optional.
Which items are actually on the clock
Not everything on a grazing table is a TCS food, and knowing the difference is what makes the timing manageable.
On the clock
- Soft and fresh cheeses
- Cut fruit and cut vegetables
- Sliced or opened charcuterie
- Cooked items
- Dips and spreads with dairy or egg
- Anything you've cut, cooked, or opened
Generally not on the clock
- Hard aged cheeses
- Dry crackers and bread
- Whole uncut fruit
- Nuts and dried fruit
- Sealed shelf-stable jams and honey
- Olives and pickled items in brine
This is the practical lever. A board that leans on aged cheeses, whole fruit, dried fruit, nuts, crackers, and preserved items can hold its visual weight for hours while the genuinely perishable items get replenished in smaller, timed batches. The abundance stays. The risk doesn't.
Build it so the timing works
Stage in waves, not all at once
The replenishment approach that keeps a table looking full is the same one that keeps it safe. Put out roughly half to two thirds of the perishable product, hold the rest properly chilled, and refresh in batches. Each batch carries its own clock, and the display never sits with four hours of product exposed for four hours.
Chill everything hard before it goes out
Product that leaves the cooler at 38°F has more usable time than product that left at 45°F. Cold-hold your prep, transport in coolers with real ice or gel packs, and don't let the build stage on a warm counter while you style.
Use chilled surfaces where they earn it
Marble and slate hold cold. Chilled boards, sheet pans nested over ice under a top board, and cold plates buy you real time on the items that need it. Just keep the melt controlled so you're not creating a water problem under the food.
Separate wet from dry, raw from ready
Crackers and bread away from anything weeping. Cut fruit not draining into cheese. And nothing raw on a grazing table at all, which mostly takes care of itself.
Give guests tools
Individual utensils per item, picks, or small tongs. It's better for the display and better for cross-contact than a table where every hand touches every board.
Outdoors is a different event
Everything above assumes a room at a controlled temperature. Outdoors, the numbers move against you fast.
Once ambient temperature climbs past the mid-80s, the safe window for exposed perishable food shortens sharply, and the six-hour cold rule is off the table entirely since it requires 70°F or below. In hot conditions, plan on the shorter end of every window and expect to replenish more often, in smaller amounts.
The practical approach for outdoor grazing: keep reserves indoors or in properly held coolers, put the durable items on the outdoor display and the delicate ones inside, work in tighter batches, and use shade and chilled surfaces aggressively. Direct sun on a cheese board is not a styling problem, it's a temperature problem.
“If the forecast is genuinely hot, that's a conversation with the client during planning, not a discovery at load-in. Adjusting the build toward durable items is a professional recommendation, not a compromise.”
Labeling and allergens
Grazing tables are a hard format for allergen communication. Everything touches, guests serve themselves, and nobody's asking a server what's in the spread.
Label what you can, clearly and legibly. Nuts, dairy, gluten, and any less obvious allergen in a spread or dressing deserve a marker. Where the display makes individual labels impractical, a single clear card listing what's on the table helps more than nothing. The On-Site Label Maker prints tent cards and labels for exactly this.
And be honest about cross-contact. A grazing table is a shared surface where a guest's cracker touches the cheese that a nut-covered cheese ball sat beside. If a client asks for a nut-free or gluten-free guarantee, the honest answer is usually a separately built and separately placed board, not a note on the main table. Handling dietary restrictions goes deeper on collecting and tracking those requests.
The part nobody enjoys
Leftovers from a grazing table that ran on the clock are not leftovers. Product that has been out for hours, handled by guests, cannot go home with the client, cannot come home with you, and cannot be donated. When a client asks you to box it up, that's a conversation you'd rather have during planning than at breakdown, so put it in your contract and mention it in the walkthrough.
The product you held in reserve and never put out is a different story. That's stayed under temperature control the whole time and follows normal rules, including the donation and reuse options covered in what to do with catering leftovers.
Where this fits in planning
Safety and quantity planning are the same decision. Build a table that's 70 percent durable and 30 percent perishable and you have a display that holds for a long event; flip that ratio and you're managing a clock all night.
The Grazing Table Planner works out category quantities and a replenishment split for your event's duration, season, and setting, which is where the safety math starts. Longer event, warmer setting, more of the plan should sit in reserve.
Size the table and the reserve together. The Grazing Table Planner sets quantities, assortment, and a replenishment split for your guest count, duration, season, and setting.
Plan Your Grazing Table →Plan the clock the way you plan the shopping list. Both of them are the job.
Finish the job
Grazing Table Planner
A grazing table calculator for quantities, assortment, display size, and replenishment.
Keep going, related on Click to Table